Friday, July 30, 2010

Wedding flowers, take 3

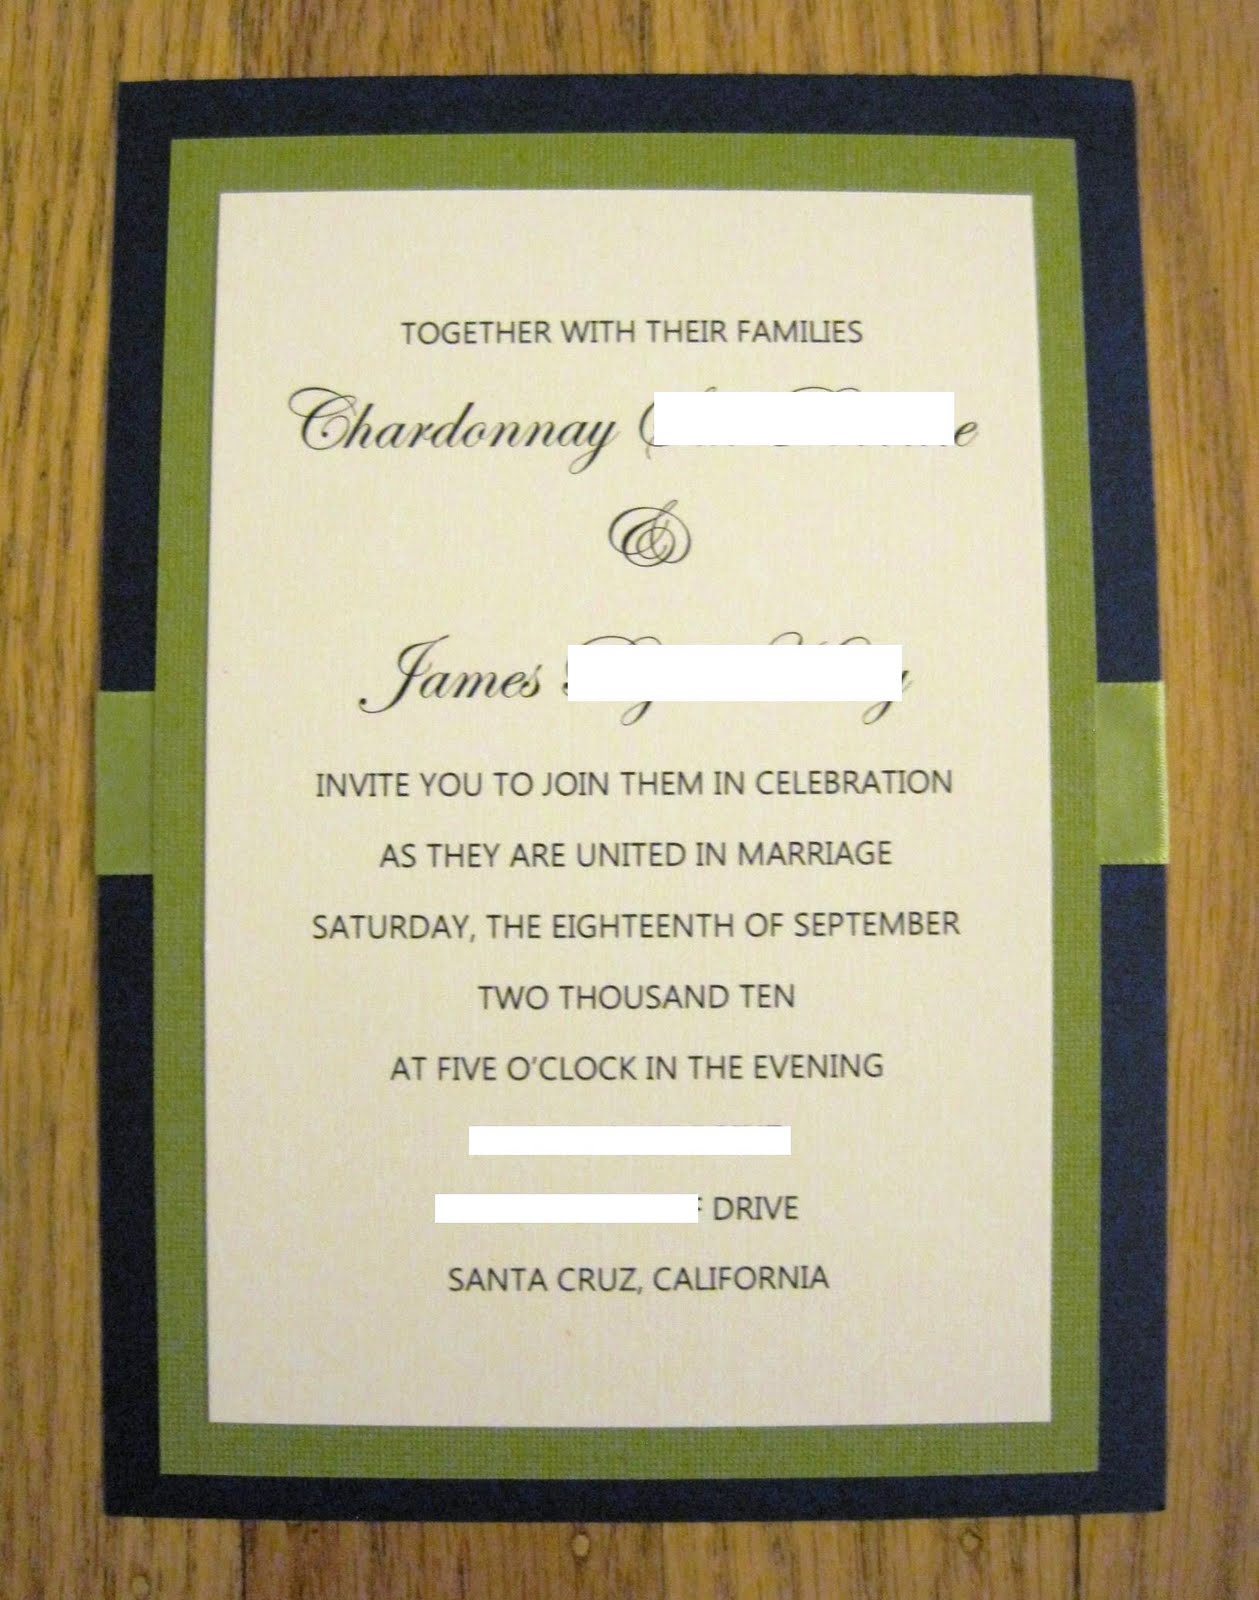
A few days ago, I tried out DIY flowers for the wedding again (See my first attempt here and my second attempt here). This time I picked up the exact varieties of flowers we'll be using on that day - blue hydrangea, white dahlias, green mums/poms and roses (we'll use white or green... the store only had pink).

First I tried bouquets. Ugh they're so hard!! I truly think that they look better in these pictures than they did in person. I did 3 different versions, and I still don't know which I want to do.

First up - hydrangea only. This is super simple (and easy to do), and I like it. Having an elaborate bouquet is not important to me at all. This one pictured has 3 stems. I'd probably do at least 4 for me and 3 for Rose.


The second one has poms, dahlias and roses. It's so hard to make it round! Keep in mind that the roses wouldn't be pink. Oh and they're the wrong kind. Instead of long stems, there are like 4 on one stem and they'd be too short if you separated them. So I think that made it a bit harder.


Lastly, I made one with hydrangea, dahias and poms. I wanted to see it with only blue, green and white (which is our color scheme).


Which bouquet do you prefer?

Next, centerpieces. Each table will have three mason jars filled with flowers.

This first has dahlias, roses and poms:


This isn't a very good picture, but this one has one hydrangea stem and dahlias, roses and poms:


Hydrangea, dahlias and poms:


Now that I think about it, we'll most likely have a mixture of these arrangements throughout the tables.

Here's the whole centerpiece: 3 mason jars surrounded by 6 tealights.


At the most, our reception will end 36 hours after these are assembled. Here they are after 24 hours... basically the same. The roses were a little wilted but they weren't fresh enough to begin with.


Here they are after about 40 hours. You can see on the left that the hydrangea is browning a little. Won't worry about it though! They look great for the most part.

Wednesday, July 28, 2010

Wedding invitations are out!

Now that our guests have received their invitations (a few weeks ago actually), I’m excited to debut my creations to the blogging world. I seriously love how they turned out! After everything was put together, they looked even better than I imagined. I wish the pictures conveyed that better :(

I designed them all in PowerPoint. They were definitely a labor of love... each piece of cardstock was adhered to the one under it with double-sided tape. That's 50 invitations and 150 inserts, but it didn't seem that bad because we spread out the work whenever we had a free evening.

I had them printed at The Printman Design Workshop on Freeport Blvd. I originally went to FedEx Kinko's but they were kind of jerks so I just walked into Printman because I had driven by before. They were so nice and I love them!

Here’s the front of the invitation.


And that ribbon goes around the back to hold all the inserts.


We have three inserts – an RSVP card and envelope, a reception card and a card for the barbecue we’re having the day after the wedding.


And like our Save the Dates, I had to have an envelope liner for the inner envelope. Had to! I liked this paper because it looks like ocean waves, and we’re getting married right next to the ocean.


We’re also getting married next to a lighthouse, so I got this lighthouse stamp on eBay for the inner envelopes. The stamp will be used on our programs too.


I had to remind myself that nobody cares about stamps when the post office was out of lighthouse stamps for our RSVP envelopes. But seriously how perfect would that have been?!


Stupid love stamps!

 
Here’s the whole suite.
 

I hope our guests like them as much as I do!

Monday, July 26, 2010

Europe Day 8: Ostia Antica, Italia

Ostia Antica is an ancient city outside of Rome that was abandoned about 1600 years ago. In the 2nd and 3rd centuries, it was a major port town that served as an entrance to Rome. However, sea level dropped and the sea was no longer adjacent to Ostia Antica, causing it to be irrelevant and its residents to relocate.

It's now an amazing archaeological site. The town is still intact and you're able to see how people lived. You can go inside buildings and explore, which we did all day long!


After spending several hours at Ostia Antica, we took the train back to Rome and had an early dinner (our last in Italia, *tear*) before taking another train to the airport. I was really craving a Diet Pepsi (which they call something else, "Pepsi Light" or something...) but it was actually more expensive than wine... crazy right?! So obviously we had to get wine!

We waited around at the Rome airport for a few hours, then boarded our flight to Athens! We flew Aegean Air, which is the nicest airline I had ever been on, hands down. Arrived in Athens close to midnight, took a taxi to our hotel (Diros Hotel, don't recommend it at all), then slept!

Previously...
Day 1: Travel
Day 2: Dublin, Ireland
Day 3: Dublin, Ireland
Day 4: Antrim Coast, Northern Ireland
Day 5: Venice, Italy
Day 6: Rome, Italy
Day 7: Rome, Italy

Wednesday, July 21, 2010

Moss letters

This wedding project was amazingly easy. I saw this blog post a few weeks ago and decided to try it myself. My inspirations were:


We have a couple of cute areas to hang these initials at our wedding reception so I read this tutorial and then decided to do it myself!

Supplies (all from Michaels):
1 styrofoam board - $5
Styrofoam glue - $5
2 bags of moss - $6 each
Floral pins (U-shaped) - $2
Cardboard - FREE
Small nails - FREE 

First I drew the letters onto the styrofoam board. It probably would have looked a lot better if I traced it from something but I just freehanded it!


I cut out the letters using a bread knife. And yes, I managed to break both of the letters pretty badly! This is when I started to doubt my DIY skills...

But I had faith in my styrofoam glue, so I glued the pieces together and let them set overnight. I also traced them onto a piece of cardboard because I didn't feel like the styrofoam alone was sturdy enough. So I glued the cardboard to the back of the letters. The next day they were ready to apply the moss.


Each letter took 3 separate pieces of moss. I applied glue to the front of the letter and layed the moss on it.


Flipping the letters over, I then stuck my floral pins into the sides of the letters (through the moss and into the styrofoam) to secure it.


For the moss that went over the back, I used the smaller nails to adhere it. The floral pins were much longer and would have stuck out the front, but the nails were just short enough to work.


I went along all the sides and put a nail or floral pin every inch or two, making sure that the moss was secure all the way around.


To hang them, I stuck the last 2 floral pins in the back at an angle, and they'll be hung up with ribbon.


Here they are! I like them a lot, and it was so easy! They're not as nice as the inspiration pictures as the top of this post, but they'll be hung by the bar... so... I think people will be happy anyway :)


The biggest mistake I made was doing this on my kitchen counter. I recommend doing it outside.

Tuesday, July 20, 2010

Lots of wedding things

We went to my parents' house last weekend for a family BBQ and had a blast! It was our 3rd annual Land Park BBQ, although we decided to have it inside their house instead of at Land Park because it was about 105 that day (see pictures from last year here). I made this greek orzo salad and this broccoli salad - yummm!

I really wish I had taken more pictures, but at least I got a few shots of the beautiful bamboo arbor that my dad made for our wedding ceremony:


Isn't it amazing?!


Thank you Dad!!

Over the past few weeks (months?) I've also made some wedding purchases....

My earrings, ordered from here


Here are the ties for James and his best man (his stepdad), that match Rose's dress. They're from Sears, a store I loathe... but they were 1/3 the price of the ones at Macy's!


And here's the maid of honor looking beautiful in the dress I got her, and the shoes we found a few weekends ago (holding an invisible bouquet)


Tie with the dress... close enough!


So you know the saying "Something old, something new, something borrowed, something blue?" I didn't think I had anything at first. I kept saying I only had something new [everything], but for old, I think I'll use the clutch I found a few months ago. And it has some blue in it too! Teal... blue... same thing, right?


Now I just need something borrowed!